This guide will show you how to create a distribution list.
To create a distribution list, simply start by clicking on the “Create Distribution List” button on the top left of the displayed page.
You will receive a pop-up. The first two options are ones you can leave as default.

The first change you need to make is the name of the list. The top empty bar is simply what will call it. The email address is what you want the email address to be.

For example, you could name it “Marketing” but have the email address be “marketingteam” instead of just “marketing”. You can disregard the “All Senders are Authenticated” option and move on to the administrators.
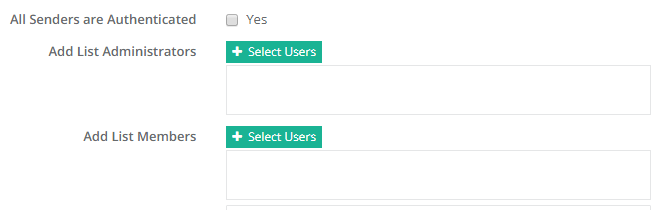
Normally, we will keep the administrators as one of the authorised contacts. You can select multiple people but we generally keep it to one.
The members are everyone you want to receive emails from this distribution list. So, going back to the example, if it were called “marketing”, I would add anyone from the marketing team to the list.
For both the administrators and members, simply click on “Select Users” and go through the users as appropriate. Once happy, scroll down, click “Add” and then click “Select Users” once more.
Once all that’s done, please click on “Create Distribution List” and allow a few seconds for the list to create. Feel free to test it once it’s done to confirm it’s working.
If you would like to see what else you can do with CCP, please click here to go back to the main guide.