This guide will show you how to set up the correct permissions to send emails as someone.
Send As permissions allow you to send an email from another mailbox as if you were the user. To do this, like Full Access Permissions, you will need to go to the mailbox the user is requesting permission to send from. For example, if Z wants to send as Y, you need to go to Y’s dashboard. Once in the dashboard, please go to the “Send As Permissions” tab under “Mailbox Details”. From here, you can grant and remove permissions. To add, simply click on the “Select Users” button. You will get a popup like the one shown below:
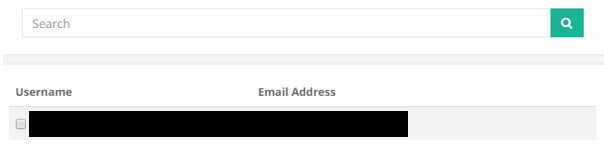
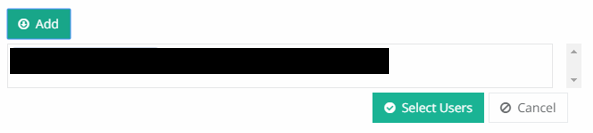
From here, either search for the user or scroll to them and click in the little checkbox by their name. Then scroll down to the bottom and click on “Add” and then “Select Users” once more.

You can also remove a user’s send as permissions by clicking on the little “x” next to their name.
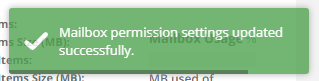
When you’re happy with the changes, hit “Save”. Please allow the change to propagate via the green pop-up at the top before moving on.
If you would like to see what else you can do with CCP, please click here to go back to the main guide.