This guide will show you how to set up full access permissions for a mailbox.
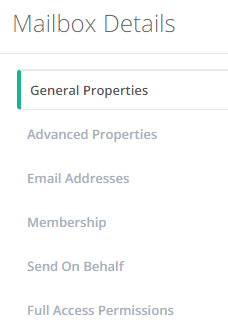
In order to give full access permissions, you need to go to the mailbox that the user is requesting access to. For example, if Z wanted access to Y’s mailbox, you would go to Y’s dashboard. Once you are at their dashboard, please go to the “Full Access Permissions” tab under “Mailbox Details”.
You will be displayed with the below:
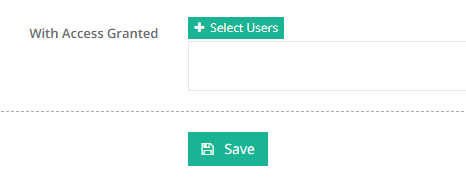
From here, click on “Select Users”. You should get pop-up as below:
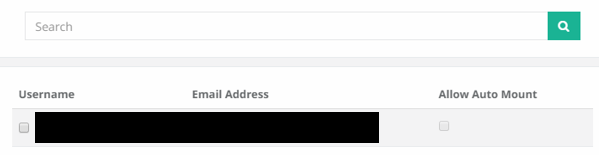
If you have a lot of users or to save time, you can search for the user you want to give permission to. Simply click on the checkbox next to the username once you find the user. You may notice there’s a second checkbox titled “Allow Auto Mount” which becomes available when you select a user.

What this does is automatically add the mailbox to the user’s Outlook once they close and reopen Outlook. If you would like them to manually open the mailbox, please uncheck this box. Once done, scroll down and click on “Add” and then “Select Users” once more to confirm your selection.
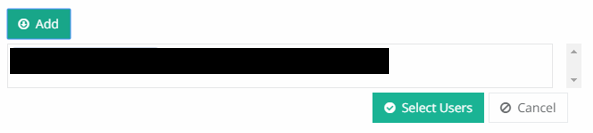
You can also remove full access permissions from a user by simply clicking on the little x next to their name.

Click “Save” when you’re happy for the change to take effect. Please allow the change to propagate via the green pop-up at the top before moving on.
If you would like to see what else you can do with CCP, please click here to go back to the main guide.